
Key Takeaways:
- Uninsulated garage doors are a major energy leak. As one of the largest openings in your home, an uninsulated door lets outdoor temperatures transfer freely, forcing your HVAC system to work overtime year-round.
- The savings are significant and well-documented. Insulated garage doors can cut energy loss through the garage by up to 70 percent, with homeowners typically seeing a 10 to 15 percent drop in monthly heating and cooling costs.
- Getting started doesn’t require a big budget. DIY insulation kits can cost as little as fifty cents per square foot, making this one of the more affordable upgrades available to homeowners.
- R-value is the key metric to understand. Higher R-values mean better thermal resistance, and the right range depends on your climate and how the garage is used, whether it’s a workshop, gym, or just a place to park.
- Material choice matters. Polystyrene is a budget-friendly rigid foam option, while polyurethane offers denser insulation, better durability, and stronger sound dampening for those willing to spend a bit more.
- Sealing is just as important as insulating. Weatherstripping, bottom seals, and gaps around the frame all need attention, since a well-insulated door won’t perform well if air is still leaking around its edges.
- Added weight can affect door balance. Insulation adds weight to the door, so checking spring tension and balance afterward helps avoid extra strain on the opener and keeps everything running smoothly long-term.
If you’ve ever stepped into your garage in the dead of summer or the middle of winter, you already know it can feel like a completely different climate zone than the rest of your house. That’s not an accident. Your garage door is one of the largest single openings in your home’s exterior, and if it isn’t insulated, it’s basically an open invitation for outdoor temperatures to crash the party. The good news is that insulating a garage door is one of the more approachable home improvement projects out there, and it can make a real dent in your energy bills no matter what season it is. Let’s break down why it matters, what the numbers actually say, and how to get it done.
Why Your Garage Door Is Quietly Draining Your Energy Bill
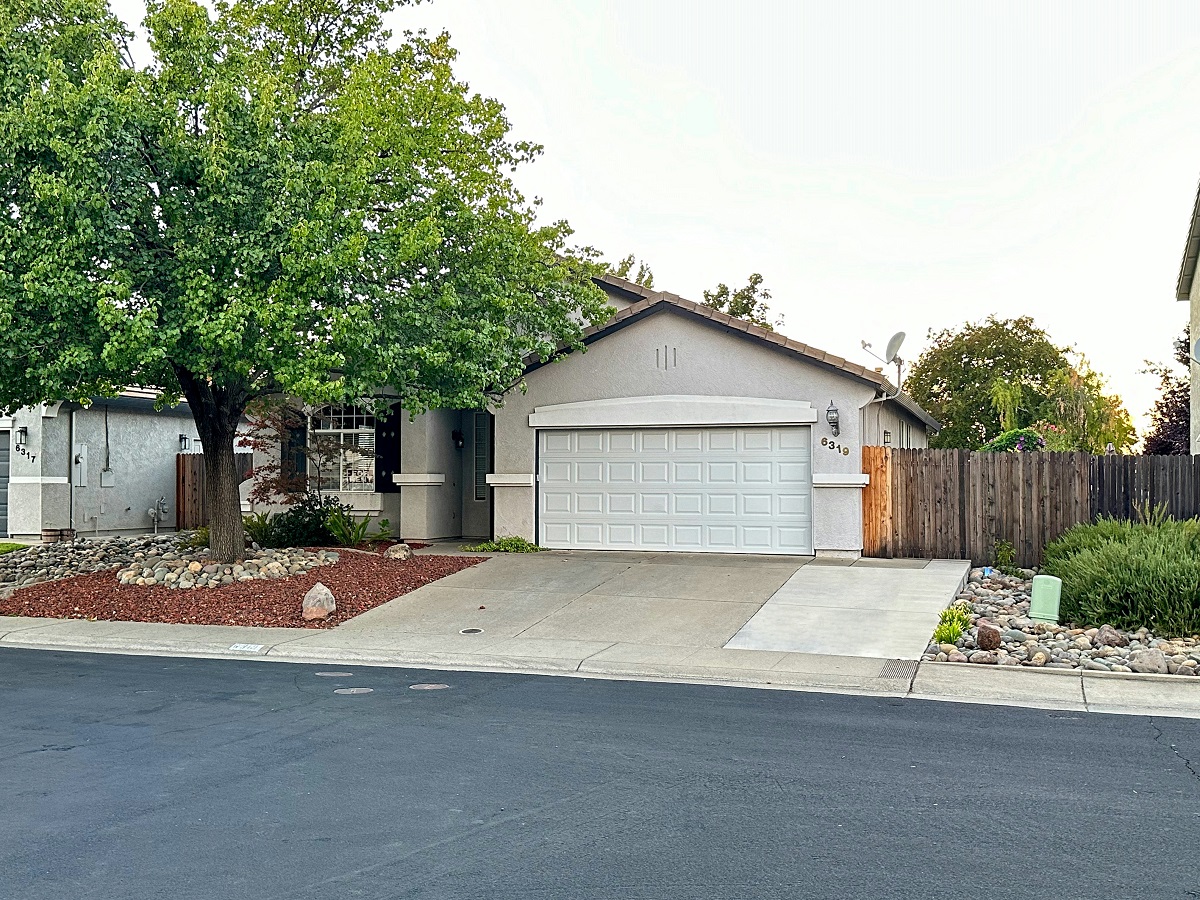
A lot of homeowners pour money into attic insulation, new windows, or smart thermostats while completely overlooking the garage door. It makes sense on the surface since the garage isn’t usually a living space you spend much time in. But if your garage is attached to your house, shares a wall with a bedroom, or sits below a room you use every day, an uninsulated door is working against you around the clock.
Here’s the mechanism: a bare steel or aluminum garage door panel has almost no resistance to heat transfer. In winter, that means cold air radiates straight through the door and into the garage, which then pulls warmth from any adjoining rooms. In summer, the same door absorbs heat from direct sun and turns your garage into an oven, which then pushes that heat into your home through shared walls, ceilings, or the door leading from the garage into the house. Your HVAC system ends up compensating for both, working harder and longer than it should.
This isn’t a minor, cosmetic issue. It’s a structural energy leak, and one that a lot of energy audits miss simply because people don’t think of a garage door as “insulation” in the traditional sense.
What the 2026 Data Actually Shows
It’s easy to throw around vague claims like “insulation saves money,” but the actual figures from this year are worth sitting with for a second.
A study cited by the Door & Access Systems Manufacturers Association, referenced in an April 2026 industry report, found that switching to an insulated garage door can cut energy loss through the garage by as much as 70 percent compared to leaving it uninsulated. On top of that, the same report noted that homeowners who made the switch typically saw their heating and cooling bills drop somewhere in the range of 10 to 15 percent month to month. That’s not a rounding error. If your household spends a few hundred dollars a month on heating and cooling during peak seasons, a 10 to 15 percent reduction adds up to real, recurring savings over the course of a year.
The second data point comes from a separate 2026 ROI guide focused specifically on the cost side of the equation. According to that analysis, do-it-yourself insulation kits can start as low as fifty cents per square foot, making them one of the most budget-friendly upgrades a homeowner can tackle without hiring a contractor. When you compare that entry-level cost against the potential double-digit percentage drop in monthly energy spending, the math starts to look pretty favorable, especially for anyone who’s on the fence about whether this project is worth the weekend.
Put those two figures together and you get a clearer picture: the upfront investment is genuinely low, and the ongoing payoff is significant enough that it shouldn’t be treated as an afterthought. Insulating your garage door isn’t just a nice-to-have, it’s one of those rare home projects where the cost-to-benefit ratio actually holds up under scrutiny.
How Garage Door Insulation Actually Works
Before you buy anything, it helps to understand what you’re working with. Garage door insulation is rated using something called an R-value, which measures how well a material resists heat flow. The higher the number, the better the insulation performs.
A few general ranges to keep in mind:
- R-0 to R-6 (low): Minimal or no insulation, typically found on basic single-layer steel or aluminum doors. Fine for detached garages in mild climates, not great for anything else.
- R-7 to R-12 (moderate): Decent thermal resistance and noticeable noise reduction. A solid middle-ground choice for most climates.
- R-13 and above (high): Superior insulation performance, best suited for extreme climates or garages that sit beneath or beside living space.
Most insulated garage doors rely on one of two core materials. Polystyrene, which is essentially rigid foam board, gets fitted between the door’s layers and offers a reasonably affordable boost in thermal resistance. Polyurethane, on the other hand, is sprayed or injected as an expanding foam that fills every gap inside the door panel. It costs more, but it also delivers denser insulation, added structural rigidity, and better sound dampening. If your garage doubles as a workshop, home gym, or laundry room, polyurethane is generally the better long-term investment.
Choosing the Right Insulation Method for Your Garage
Not every homeowner needs the same solution, and the right choice really depends on your existing door, your climate, and how much you’re willing to spend upfront.
DIY insulation kits are the most accessible route. These typically include pre-cut foam board or reflective panels sized to fit standard door sections, along with adhesive backing or clips to hold them in place. They’re inexpensive, don’t require special tools, and can usually be installed in an afternoon. The tradeoff is that they generally deliver a lower R-value than a professionally insulated door, so they’re best for garages in moderate climates or for anyone testing the waters before committing to a bigger upgrade.
Fiberglass batt insulation is another budget-friendly option. It comes in rolls or pre-cut sections that slide into the door’s panel framework. It’s effective at both thermal resistance and noise reduction, though it can sag or lose effectiveness over time if it isn’t properly secured.
Reflective insulation, which uses a layer of foil-faced material, works by bouncing radiant heat away from the garage rather than absorbing it. This makes it a strong pick for hot climates where keeping summer heat out is the priority, though it’s less effective in colder regions where retaining warmth matters more.
A full replacement with a pre-insulated door is the most expensive option, but it also delivers the most consistent, long-lasting performance. Manufacturers build these doors with polyurethane or polystyrene sandwiched between steel or aluminum layers from the factory, so you’re not relying on a retrofit to get the job done right.
If you’re weighing your options, think about how you actually use your garage. A space you park in twice a day doesn’t need the same insulation strategy as a converted workshop where you’re running power tools or working out for hours at a time.
Step-by-Step: Insulating Your Garage Door
If you’re going the DIY route, the process is fairly straightforward. Here’s a general rundown:
- Measure each door panel individually. Garage doors are made up of multiple sections, and they’re not always perfectly uniform, so measure each one rather than assuming they match.
- Choose your insulation material. Foam board kits are the easiest for beginners, while fiberglass batts require a bit more handling care.
- Clean the interior surface of the door. Dust, grease, or old adhesive residue will prevent panels from sticking properly.
- Cut the insulation to size. Leave a small margin so panels fit snugly within the framework without buckling.
- Secure the panels. Depending on the kit, this might involve adhesive, retention clips, or a combination of both.
- Check and replace weatherstripping. Insulating the door itself won’t help much if air is still leaking around the edges, so inspect the seals along the bottom and sides while you’re at it.
- Test the door’s balance. Adding insulation adds weight, and heavier panels can throw off the tension on your garage door springs. If the door feels harder to lift manually or the opener seems to be straining, it may be worth having a professional check the spring tension.
That last step is one people skip, and it shouldn’t be. A door that’s out of balance after an insulation upgrade can put extra strain on the opener motor and shorten its lifespan, which sort of defeats the purpose of trying to save money in the first place.
Beyond the Door: Sealing the Whole System
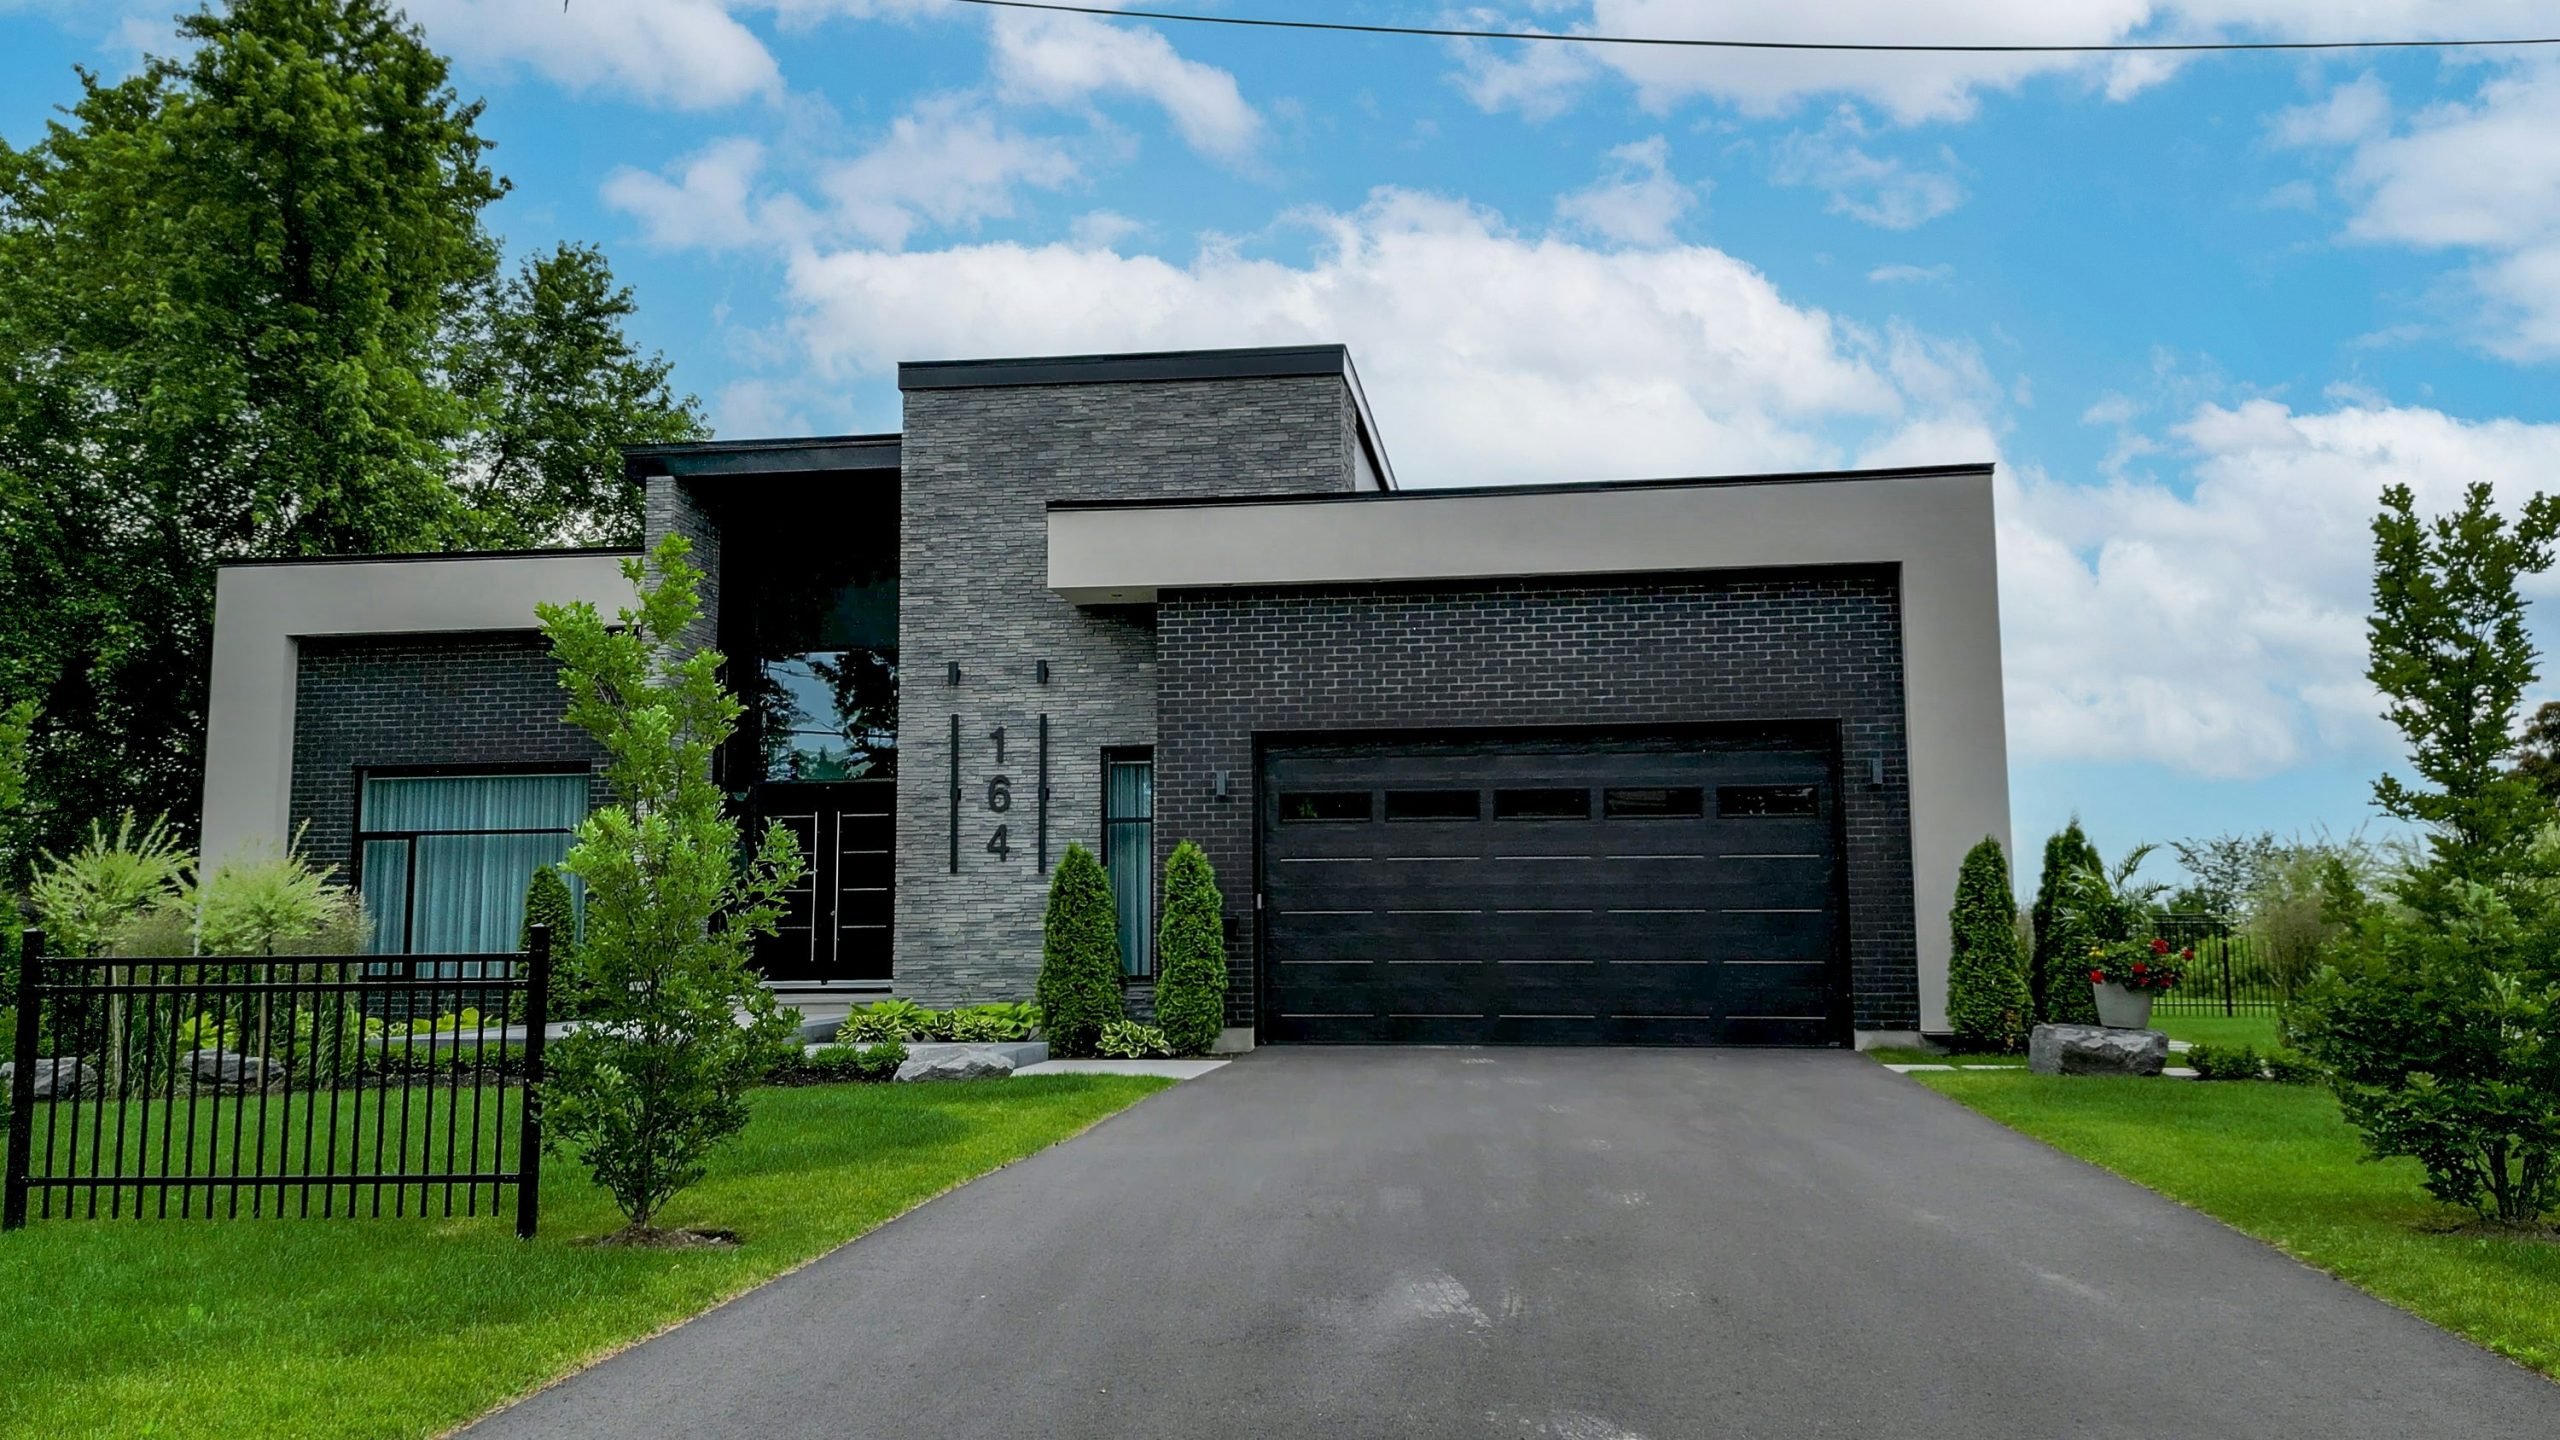
Insulating the door panels themselves is a big piece of the puzzle, but it’s not the only piece. Even a well-insulated door won’t perform at its best if air is sneaking in around the edges. Here’s what else is worth checking:
- Weatherstripping around the perimeter should form a tight seal when the door is closed. If it’s cracked, brittle, or compressed flat, replace it.
- The bottom seal, sometimes called an astragal, takes the most wear since it’s exposed to dirt, moisture, and constant contact with the garage floor.
- Gaps around the frame where the door track meets the wall can let in surprisingly large amounts of outside air if they’re not caulked or sealed properly.
- The garage walls and ceiling matter too. If your garage shares a wall with a living space, insulating just the door while leaving the walls bare only solves part of the problem.
Taken together, sealing the door alongside the surrounding structure is what actually creates a functioning thermal barrier rather than just a partial fix. This kind of full-picture approach is exactly what will boost your home’s efficiency and curb appeal, since a well-sealed, insulated garage door doesn’t just perform better, it also tends to look cleaner and more finished from the outside.
Extra Perks You’ll Notice Beyond the Energy Bill
While energy savings are the headline reason to insulate a garage door, homeowners tend to notice a handful of side benefits pretty quickly:
- Quieter operation. Insulated panels dampen the rattle and vibration of the door itself, along with outside noise like traffic or neighborhood activity.
- More usable garage space. A garage that isn’t swinging between freezing and sweltering becomes a lot more functional as a workshop, gym, or storage area for temperature-sensitive items.
- Better resale appeal. Energy-efficient upgrades are consistently one of the features buyers ask about, and a well-insulated, well-sealed garage door signals that the home has been maintained thoughtfully.
- Reduced strain on your HVAC system. Less heat transfer through the garage means your heating and cooling equipment doesn’t have to work as hard to keep the rest of the house comfortable, which can extend its lifespan over time.
None of these are the main reason most people start this project, but they’re often the ones homeowners mention first once the work is done.
Is It Worth the Investment?
Given the low cost of entry for DIY kits and the sizable percentage drop in energy loss that insulated doors can deliver, this is one of those upgrades where the math tends to work in your favor pretty quickly. A garage door insulation project doesn’t require a massive renovation budget or a full weekend crew. For a lot of homeowners, it’s a single afternoon project with a payoff that shows up in every utility bill going forward, not just during the coldest or hottest months of the year.
If your garage door is original to the house, shows visible gaps around the edges, or you’ve simply never thought about it before, it’s worth taking a closer look. Between the documented reduction in energy loss and the modest upfront cost of getting started, insulating your garage door is a rare home improvement project that pays for itself without asking for much in return.